Saturday 31 March 2012

Apple Sticky Buns


I was given a bag of apples last week and, since I already had some apples on hand from our Good Food Box, I decided to use the gift to make sticky buns.  My husband loves them and considers them a special treat.  Those sticky buns made an extra special Sunday breakfast at our house last weekend. 

Ever since I made the buns I’ve been trying to write the recipe down for you but each attempt comes out longer than a Dickens novel.  I’ve edited it as much as I can now and it’s still an epic work.  Please do bear with me.  There are a lot of steps to making these buns but they’re worth the effort.

To make the apple filling, you’ll need:


(A double batch is depicted here)

  • 4 cups of apple cut into a half-inch dice
  • 1/2 cup brown sugar, packed
  • 2 Tablespoons Minit Tapioca

Stir the ingredients together in a heavy bottomed pot and set it over low heat.  The sugar should draw enough juice from the apples to prevent the filling from sticking  and scorching but, if the apples are not juicy, you can add a small amount of apple juice to help the filling along.

Stir the filling now and again so that it heats evenly.  When it boils and thickens, remove the pot from the heat and allow the filling to cool to room temperature.


When the filling has cooled, prepare the pan.  I used a 9-inch square pan this time but have had better results with this recipe when using a 10-inch round pan.  The buns cook more evenly in the larger, round pan. 

Butter the pan, line the bottom of the pan with parchment, and butter the parchment. 


Make the sticky bun syrup for the bottom of the pan.  You’ll need:


  • 1/3 cup butter
  • 1/2 cup brown sugar
  • 1 teaspoon cinnamon

Combine these ingredients in a small saucepan and set it over medium low heat until the butter is melted.  Stir to combine the ingredients and pour them into the bottom of the baking pan.  Spread to distribute the sugar evenly over the bottom of the pan.  Some of the butter will separate out but that’s okay.


Once the syrup is prepared and spread in the bottom of the baking pan, prepare the bread dough.  You’ll need:


  • 1 cup plus 1 Tablespoon of lukewarm water
  • 1 Tablespoon sugar
  • 2-1/4 teaspoons (1 envelope) active dry yeast
  • 1/4 cup canola or other neutral flavoured vegetable oil
  • 3-1/4 cups bread flour
  • 1 teaspoon salt

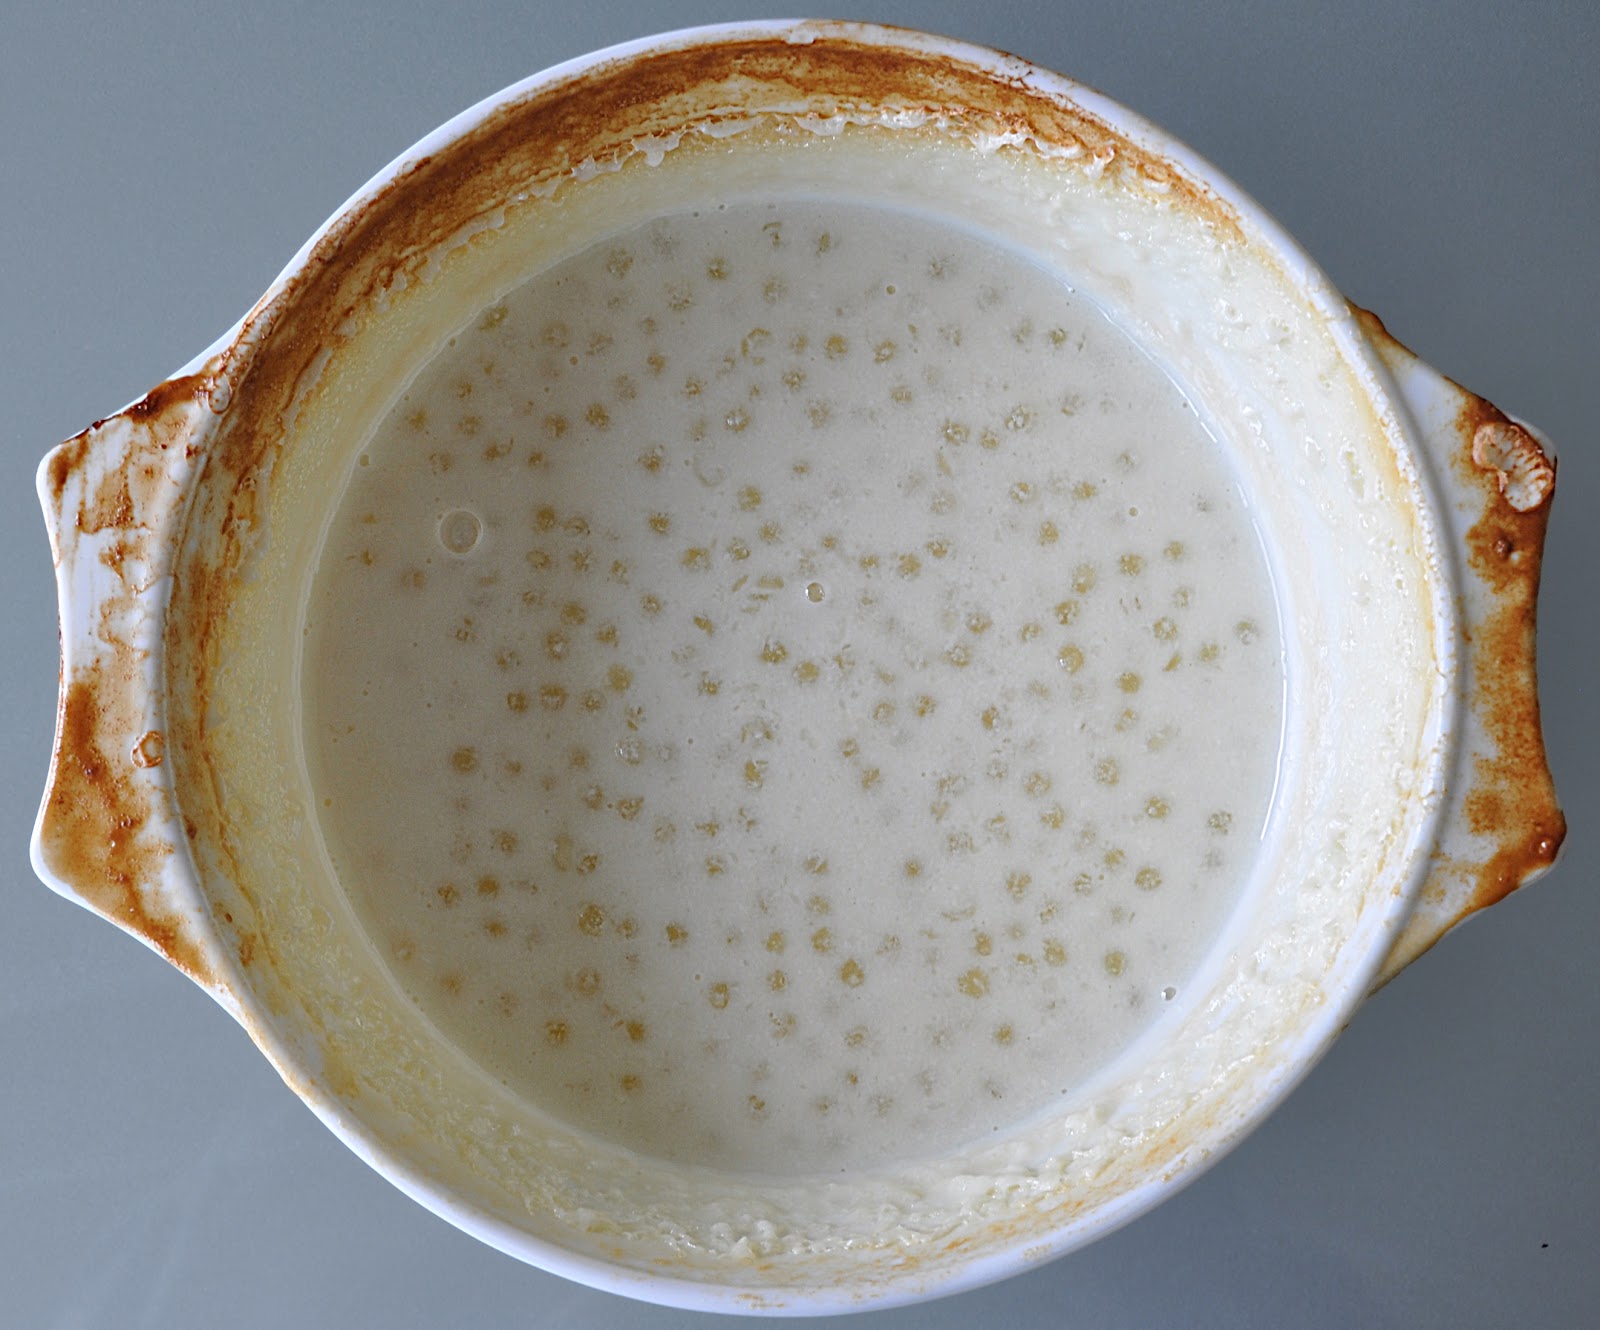
Stir the sugar into the water until dissolved.  Sprinkle the yeast over the water and let it rest until the yeast dissolves and foams up.


Add in the oil, flour, and salt, in the order listed.

Knead by hand or in a mixer until the dough forms a smooth, elastic ball that springs back when lightly touched.


Now you’re ready to assemble the buns.  Roll the dough out into a rectangle that measures about 18 inches by 8. 


Spread the apple filling out onto the dough.  

Roll the dough and filling into a long cylinder than when viewed in cross section looks like a pinwheel.

Cut the cylinder into thirds, then cut each third into three pieces.


Place the pieces on top of the syrup in the prepared baking pan.


Allow the buns to rise until doubled in size. 


Bake the buns in a 375˚F oven for about 45 minutes, rotating the pan halfway through the baking time.  If the tops of the buns darken too quickly cover the pan loosely with foil.

When the baking time is finished, use a knife to gently open one of the seams between the buns at the center of the pan.  The dough in the center will take the longest to bake and you want to make sure that the bread is completely cooked.


When the buns are baked, immediately turn them out of the pan, inverting them onto a cookie sheet or cutting board.  Remove the parchment.


Allow the buns to cool completely.  While they’re cooling, make the frosting.  You’ll need:


  • 1/2 cup cream cheese
  • 1/2 cup butter
  • 1 teaspoon vanilla extract
  • Icing sugar (Powdered sugar)

Cream together the cream cheese, butter and vanilla.  Add icing sugar a bit at a time, mixing until smooth after each addition, until the icing reaches the consistency and flavour you prefer.  If it gets too thick, you can add a little milk to thin it down.

Invert the cooled buns onto a serving plate and ice them. 

I prefer my sticky buns without icing.  My husband likes his with icing.  He eats more sweets than I do so this is what compromise looks like at our house.


See?  Lots of steps but an excellent end result.

These buns would make a nice treat for Easter breakfast.  Because the filling is moist, they can be made ahead and will keep quite well in an airtight container.

Enjoy.  

Thursday 29 March 2012

Pineapple Cake with Toasted Coconut Frosting


My husband and I both like crushed pineapple in our baked goods, on pizza, and in sauces, but we don’t much care for large chunks of pineapple, either fresh or canned.  I know it makes no sense, but people are rarely logical creatures.  (That’s what I tell myself anyway. ;)

I buy canned pineapple when it’s on sale, purchasing several tins at a time so that my purchase will carry me through until it goes on sale again.  It’s usually a good strategy but somehow, this time, I ended up with a couple of tins of pineapple rings instead of the crushed pineapple I usually buy. I need to be more careful about reading labels!

The pineapple rings aren’t a big deal really—other than causing me to be annoyed at myself for carelessness.  I can throw them in my food processor, pulse it a few times, and voilĂ !  Crushed pineapple.  Yesterday, though, I decided to chop it a little more coarsely and use it to make a riff on my harvest cake.

The cake turned out pretty well, even if I do say so myself. My husband certainly liked it!  It’s what he had for breakfast this morning. 

 I’m so glad that I took the time to make notes because I’ll definitely be making this one again.

To make Pineapple Cake with Toasted Coconut Frosting, you'll need:


  • 1-1/2 cups brown sugar, packed
  • 1/2 cup butter
  • 1 egg
  • 2 cups flour
  • 1 teaspoon baking soda
  • 1 teaspoon cinnamon
  • 1 teaspoon ground ginger 
  • 1/2 cup pineapple juice (reserved when draining the pineapple)
  • 1/2 cup evaporated milk (I use the low fat kind)
  • 1-1/2 cups pineapple (I chopped it by hand but you can use crushed pineapple or tidbits).  If using canned pineapple, make sure it's well drained.


    • 6 Tablespoons (3/8 cup) shredded coconut
    • 6 Tablespoons (3/8 cup) sugar
    • 1/4 teaspoon cream of tartar
    • pinch of salt
    • 1 egg white
    • 2 Tablespoons cold water (not pictured)
    • 1 teaspoon vanilla extract

    Cream the butter and sugar together.  Add in the egg.  Mix until well combined.


    Whisk together the flour, baking soda, cinnamon, and ginger.  Add 1/3 of this mixture to the butter and sugar mixture, stirring until well combined.

    Add the pineapple juice, half of the remaining flour mixture, the evaporated milk, and then the rest of the flour mixture, in the order given, stirring well after each addition.

    You should have a thick batter.


    Stir in the pineapple.

    Transfer the batter to a buttered or oiled 9-inch-square cake pan and spread it until it’s evenly distributed around the pan.


    Bake on the middle rack of a 350˚F oven for 30 to 40 minutes, until a toothpick inserted in the center of the cake comes out clean.


    While the cake is baking, spread the coconut on a cookie sheet and put it in the oven to toast.  Watch it carefully.  It’ll brown quickly.


    As soon as the coconut is lightly browned, remove it from the oven and allow it to cool.

    Allow the cake to cool completely.

    When the cake has cooled, make the frosting.

    Combine the sugar, cream of tartar, salt, egg white, and water in a heat proof bowl.  Place the bowl over a pot of simmering water and whisk the mixture by hand until the sugar is dissolved. 


    Switch to an electric hand mixer or a rotary beater and continue beating the frosting for 5 to 7 minutes, until it stands in peaks. 


    Remove the frosting from over the water and continue beating it until the frosting stiffens to stand in smooth billowy peaks. 


    Mix in the vanilla and the toasted coconut.


    Spread the frosting over the cake. 


    Place the frosted cake under the broiler until the frosting is browned.  Watch carefully!  There’s a very slim margin of time between browned and burned.


    Allow the frosting to cool and set.  Slice the cake with a non-serrated blade and clean the blade after each cut.


    This frosting recipe is adapted from the Seven Minute Frosting recipe in The Fannie Farmer Baking Book by Marion Cunningham, pub. Alfred A. Knopf, New York, 1984.
    ________________________________________________


    This post is linked to Gallery of Favorites hosted by The 21st Century Housewife and Premeditated Leftovers, to Think Pink Sunday hosted by Flamingo Toes, to Sunday Round Up with Kayla, Heather, and Rose, to Making Monday Marvelous hosted by C.R.A.F.T., to Makin' You Crave Monday hosted by Mrs. Happy Homemaker, to Recipe Party at the Sweet Spot, to Delicious Dish Tuesday hosted by Coping With Frugality, Full Time Mama, and Mama Chocolate, to Tuesday Time Out hosted by Reasons to Skip the Housework, to Show Me Extraordinary by The 36th Avenue, and to Tastetastic Thursday hosted by A Little Nosh.

    Gallery of Favorites


    craft

    The Sweet Spot

    Coping With Frugality


    The 36th AVENUE

    Tuesday 27 March 2012

    Never Mess With a Girl's Tapioca!


    I was an awkward little kid, in the literal sense of the phrase.  I was poorly coordinated.  I had a gift for finding sharp corners and edges with my elbows and knees, and I really was little. I was not only the youngest child in my grade, but by far the shortest.  I wore orthopedic shoes.  I was slightly cross-eyed, and terribly shy.  I shrank from attention and was embarrassed to be singled out in a group.

    Naturally, I attracted a schoolyard tormentor.

    My nemesis was a boy named Robert.  Tall and curly haired, he delighted in teasing the school weaklings.  He targeted me and I—lacking in the confidence to stand up to him and make a snappy comeback—provided exactly the reactions he sought.  I was often red faced and tongue-tied.  Sometimes I cried.

    Even though I didn't confide it, my mom—bless her heart—knew that something was troubling me.  She tried to make my days a little better by sending me to school with special treats.  She tucked little notes with funny illustrations into my lunchbox and at least once a week she would provide a small, wide mouthed thermos bottle filled with tapioca pudding.  She knew it was my favourite.

    It didn’t take long, of course, for Robert to cotton on to what these special treats meant to me.  He would go into my lunchbox at recess time and steal the notes, reading them aloud to his chums in a sing-song voice that carried clear across the school yard.  He and his buddies would surround my desk while I ate my pudding, making gagging noises and shouting "Eww! Fish eyes!' until I became so upset and embarrassed I couldn't swallow.

    I stopped bringing my treat out at lunchtime.  Instead, on the way home, I would walk several blocks out of my way and sit on the swings at our neighbourhood park, savouring my pudding in solitary splendor.  I was sometimes chastised for coming home late, but the scolding was worth the peace and quiet in which I enjoyed my tapioca treat.

    Then, one afternoon, Robert followed me to the park.  He snuck up behind me and scared me so badly that my thermos went flying from my hands, spilling my pudding on the ground and breaking the thermos liner into a thousand silver-coloured shards.

    I was furious!  I stood up from the swing, grabbed my metal lunch kit and, without a moment’s thought or hesitation, bashed my tormentor squarely in the side of the head.   He howled and then ran off, leaving me alone.

    I gathered up my broken thermos, put it in my dented lunch kit, and headed home to face the music. I fully expected to catch it for the damaged goods I was returning.  Oddly though, my mother didn't remark upon the thermos or the lunch box at all.  She told me years later that she felt I’d probably sorted things out myself, and she noted that I was never late coming home from school again!

    I’m not telling you that what I did was right. Looking at it from the safe distance of the second half of my life, I realize that Robert probably envied me.  He came from a large and very poor family, and probably never in his entire childhood saw either the luxury of a thermos full of pudding or the kindness and love demonstrated in those hand drawn notes.

    What I am telling you is that you should never EVER get between a girl and her tapioca pudding!  ;)

    To make tapioca pudding, you’ll need:


    • 1/2 cup pearl tapioca
    • 3 cups milk
    • 1/4 teaspoon salt
    • 1 large egg
    • 1/2 cup sugar
    • 1 teaspoon grated orange or lemon zest or 1 teaspoon vanilla (I used orange zest this time.)

    Put the tapioca in a jar with a lid and pour in the milk.  Let it soak in the fridge overnight.


    Transfer the tapioca  and milk to a casserole with a lid and mix in the salt.  The milk will boil up as it cooks so be sure to use a casserole that can accommodate at least twice the volume of the pudding. 


    Bake the pudding in a 300˚F oven for about 3 hours, stirring occasionally, The tapioca is cooked when it becomes translucent and has a soft texture. 


    Beat together the egg and the sugar.  Temper it by spooning hot pudding into the egg a little at a time, beating well after each addition, until the temperature of the egg is raised to slightly above lukewarm.

    Whisk the warmed egg mixture into the tapioca-milk mixture and stir in whichever flavouring you wish to add.


    Cover the casserole again and return it to the oven for five to ten minutes more.

    Remove the finished pudding from the oven and transfer it into individual bowls.  Cover the individual puddings with plastic wrap, ensuring that the plastic is sitting directly on the surface of the pudding.  This will help to prevent a skin from forming on top.


    Allow the puddings to cool to room temperature, and then transfer them to the fridge to cool completely.  You can serve tapioca pudding plain, or garnish it with a little jam or whipped cream.

    A few  notes:

    You can cook the pudding in a double boiler if you prefer not to put it into the oven.  I cook it in the oven because it requires less supervision. 

    I put a pan on the oven rack beneath the pudding to catch any drips of milk that might boil over.

    The casserole ends up looking like a big mess with all the cooked on milk but it’s actually pretty easy to clean.  The milk will soak off.  Just put the casserole and lid into a sink full of warm soapy water and walk away for a couple of hours.  Once the milk has softened it can be easily scoured off with a plastic pot scrubber.

    Monday 26 March 2012

    What We Ate March 19 - 25


    The highlight of our week was watercress.  I love watercress!  My friend Patty tipped me off to a large patch of it, growing in a nearby stream.  I had to wade into the water up to mid-thigh to get it (and oh my goodness the water was cold!) but it was worth the soaking.  The peppery greens added some much appreciated fresh flavour to our meals.

    I had hoped to spend nothing at all on groceries this week but ending up buying a few things.  I spent $15.64 on food, bringing our monthly total to $124.10.  Much of the money spent wasn’t strictly necessary, but I wanted to change things up with a couple of new ingredients. 

    We’ve been eating from the pantry for more than three months now and we’re both feeling a need for variety.  It’ll be a while yet before we see any local spring vegetables so, in order to keep us on track, I’m going to have to find new ways to work with the ingredients available to us. 

    My goal for this week is to inject more variety into our menus while continuing to use what we have on hand.  I’m going to spend more time with my cookbooks and researching recipes on line, looking for new ways to present the foods we have on hand.  And I’m going back to pick more watercress!

    Here’s what we ate last week:

    Monday, March 19:


    Tuesday, March 20:
    • Breakfast:  Whole wheat toast and peanut butter, pears
    • Supper:  Mushroom omelettes, watercress salad with honey mustard vinaigrette, oranges

    Wednesday, March 21:
    • Breakfast:  Oatmeal cooked with brown sugar, cinnamon, raisins and apples
    • Supper:  Venison meatloaf, baked potatoes, steamed snap peas, pineapple cake


    Thursday, March 22:
    • Breakfast:  Boiled eggs, toast, oranges
    • Supper:  Pinto beans and brown rice, celery and mushroom salad with red wine vinaigrette, applesauce


    Friday, March 23:
    • Breakfast – Wheat and white biscuits, cheddar cheese, apples
    • Supper – Watercress frittata, roasted green beans, canned pears


    Saturday, March 24:
    • Breakfast – Granola, yogurt, apples
    • Supper – Grilled  honey mustard marinated chicken breasts, brown rice and cabbage salad, canned cherries


    Sunday, March 25:
    • Breakfast – Apple sticky buns
    • Supper – Bangers (English sausages), vegetable hash, oranges 

    Saturday 24 March 2012

    Brown Rice and Cabbage Salad


    Do you remember Roots zero heel shoes or the advent of Birkenstocks?  A time when “back to the earth” was a motto associated with earnest young reformers?  When granola and yogurt were new-to-us foods?  When carrot cake was the dessert to eat?  Then you may remember Harrowsmith magazine.

    When I was a young wife, I used to eagerly await the arrival of the latest issue of Harrowsmith.  I’d set aside an afternoon to walk into town and read it at the library, taking care to have a pen and paper with me so that I could copy out any recipes that caught my eye.

    Harrowsmith published three cookbooks, and I saved up to buy all of them.  The recipes in the books were submitted by the magazine’s readers, and were notable for their whole food ingredients and simple instructions.  They were a boon to a beginning cook with healthy eating on her mind.

    Looking at those recipes now, I see how much food has changed in the ensuing thirty years, and how much broader a range of cuisines and ingredients we can access.  Still, despite our more cosmopolitan tastes there is a good foundation here; an excellent opportunity to start with simple nutritious recipes and then branch out and make them your own.

    This brown rice salad is from the first Harrowsmith cookbook.  It's simplicity itself and provides the crunch I crave while using ingredients that are readily available at this time of year.  I’ve changed it a little, using cabbage in place of mung bean sprouts and making the dressing with a fruit infused vinegar.  (This time I used peach vinegar.)  If you don’t have a fruit infused vinegar on hand, red wine vinegar is just fine.

    To make Brown Rice and Cabbage Salad, you’ll need:


    • 1/3 cup extra virgin olive oil
    • 1/3 cup fruit infused vinegar (or red wine vinegar)
    • 1 Tablespoon honey
    • 1/2 teaspoon salt
    • freshly ground black pepper to taste
    • 2 cups cooked brown rice
    • 2 cups finely shredded cabbage
    • 3 ribs of celery, sliced
    • 1 cup of cooked peas

    Combine the oil, vinegar, honey, salt, and pepper in a jar with a tight fitting lid.   
    Put the lid on the jar and shake it until the honey is dissolved and the ingredients are well combined.


    Place the brown rice, cabbage, celery, and peas in a large bowl and pour the dressing over top.  Toss the ingredients together until well mixed.


    Refrigerate the salad until all the ingredients are well chilled.  


    Recipe source:  The Harrowsmith Cookbook, Volume I, Pub. Camden House, Toronto, 1981


    ___________________________________________
    This post is linked to Hearth and Soul Blog Hop hosted by Premeditated Leftovers, The 21st Century Housewife, Zesty South Indian Kitchen, and Penniless Parenting, and to Delicious Dish Tuesday hosted by Coping With FrugalityMama Chocolate, and Full Time Mama.

    Hearth & Soul Hop

    Full Time Mama